|
Available in our Etsy shop! Our Eurorack module Chernobyletta is based on the Chernobylizer but it is a little different. The Chernobyletta is the modular sister or twin of this synth but it does some things differently. Rather than being a standalone synth it is designed to fit into a modular system. With a variety of CV, ins and outs there are a great number of possibilities for making noise/music/drones/sounds/fx and it's a great basis for further manipulating, filtering and modulating with other modules. What we intended here was to make something that evolved from the Chernobylizer, they are still two very different beasts.  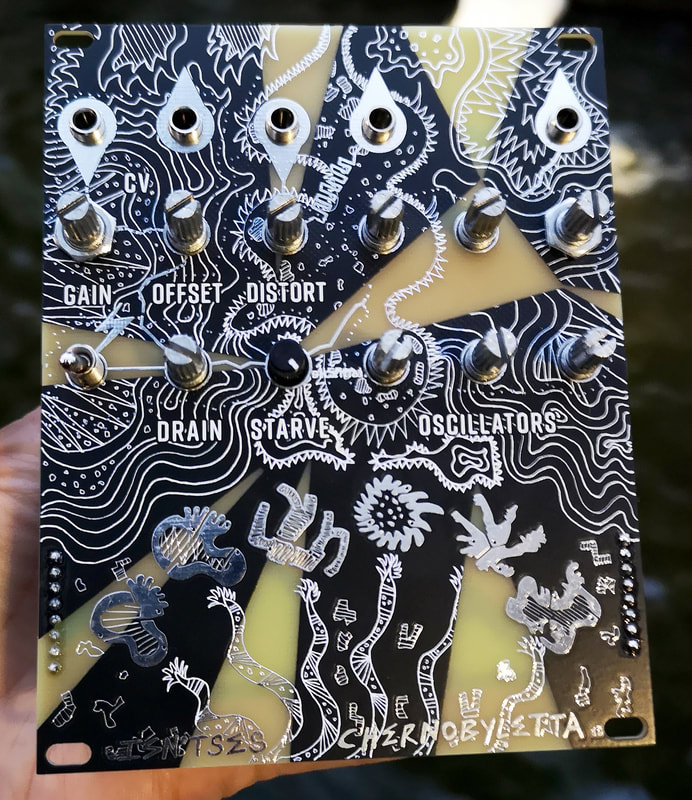 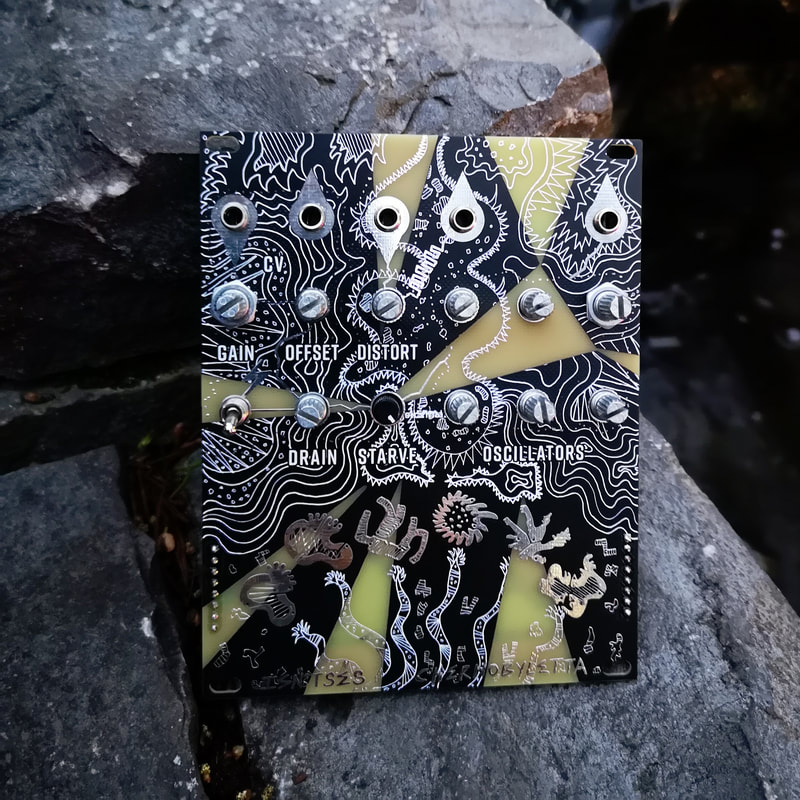 Demo videoThis video shows some of the functions of the Chernobyletta including the touch pads, power starve and how it interacts with a couple of other modules. Q&A How will the Chernobyletta fit into a Eurorack setup? It's 12hp wide and has various CV and audio inputs and outputs. It has 6 oscillators which are controlled by knobs, CV and power starve, and modulated by touchpads. What kinds of noises does it make? It still sounds like a distorty noisy beast but with more sonic possibilities due to the added control voltage inputs and the individual pitch controls for the 6 squarewave oscillators. It can produce a wide range of audio including heavy drones, harsh noise, engine-like pulsations and 8-bit-esque crunchy bleeps. Does it create a noise on its own? Yes, lots. :) It's fully playable as a noise/drone instrument even with no CV input connected, but it does require the Eurorack power supply. Even if you only had one module this would be an instrument in itself. Does it have the power drain function? Yes it does have a power drain function and this is one of the highlights of the synth as there are lots of interesting sonic possibilities while it power drains and you get a lot of nice sounds with the touch pads. This function is very similar to the Chernobylizer and can operate on a control voltage input as well as a continuous voltage from the power drain switch. Does it have the pseudo-filter section? We have omitted this section of the Chernobylizer circuit but we may develop it into a separate module in future. Do the touch pads still work the same? They work similarly and are very playable, but there are 6 touch pads rather than 9. Their effect can be quite subtle depending on the knob settings, or quite extreme on other settings. Sometimes they don't seem to respond much but you can find a sweet spot for this where they respond quite well. This depends on how you want to play the instrument and what settings you use. Can I own both the Chernobylizer and Chernobyletta or are they too similar? They make quite different sounds despite evolving from the same circuit ideas. The main difference is that the 6 starved oscillators which come together to create the main noise are individually pitch-controllable on the Eurorack module. Also the module features some modular-specific sections with normalled inputs so they can optionally be used separate from each other; a CV gain and offset control (which can also distort/clip the CV signal if you want) and an audio distortion section. There are two outputs, one directly from the oscillators, and one with distortion added. Can the Chernobylizer and Chernobyletta be used together? There is no reason not to use them together. The Chernobylizer's secondary right-hand input especially works well as an input to eurorack, as it is a hot, DC-coupled signal which we have always intended to work well with modular synths. The Fort Processor would also be interesting to hook up to the Chernobyletta. Can I build the module from a kit? We are just making a few pre-built modules for now, but have plans to make a kit version soon. What about the artwork? To make the artwork still look good on a module Lisa has redesigned the artwork so that it fits nicely on the new panel shape but the drawings she made were based on the original Chernobylizer. We are keeping the touch pads! So this is consistent with the Chernobylizer. With the Chernobyletta we have included a couple of LEDS that shine through the panel making it super cool and showing you the signals doing their stuff. The bits of the board where there is bare colour shining through is also UV-reactive. What exactly does the CV do on the Chernobyletta? In a very electronically-unorthodox move, the chip which creates the 6 squarewaves is powered by the CV input, giving an unusual kind of voltage control over the noise. This is not voltage-per-octave or even HZ/Volt, but is very playable and has a wide range. The Gain and Offset knobs allow you to use various different kinds of input and tweak/tune them to a range that you prefer. These controls give you the flexibility to use bipolar signals (eg LFOs or even audio) or unipolar signals (eg ADSR, sequencers etc) or any other eurorack signal you want to experiment with. What do all the knobs do? There are 9 knobs altogether: CV Gain - Controls the CV input level, from silence all the way up to fuzz/distortion to square off the waveform if you want. CV Offset - Adds a full range bipolar offset to the CV signal so you can tweak it positive or negative as you need. You can take this to extremes, turning the signal into complete positive or negative DC offset if you desire. Without a CV input jack plugged in, the Gain knob does nothing and the Offset knob controls the overall pitch of the oscillators directly instead. CV Out jack - allows you to optionally output this altered CV signal to other modules. Drain - Turned anticlockwise this reroutes the power CV through a bank of large capacitors, charged by the switch, causing weird smoothing of the signal and a gradual draining effect. Starve - further starves the drained signal, lowering the pitch and increasing the chaoticness of the noise in mysterious ways. Oscillators 1, 2, 3, 4, 5, 6 - these 6 knobs tune the pitch of the 6 starved oscillators, which are then mixed together and sent to the outputs. They have a wide range so you can go from extremely high pitched to low rumbles, crunches and clicks beyond the audio spectrum. Distortion - controls the amount of fuzz/distortion/gain on the main output. If you plug a signal into the Distortion Input that will override the oscillators, and instead distorts your own signal. (the secondary output on the right still puts out the oscillators tho. The secondary 'clean' output doesn't have this stage so it has a different character of its own, with more dynamics and sounding quieter when the oscillators are very power-starved.) The distortion circuit uses LEDs as clipping diodes and these shine through the front panel so you can see as well as hear the noise. What does the switch do? Drain switch - Switching it upwards injects a fixed voltage into the large capacitors in the drain/starve circuit, which affects the sound when the drain knob is turned anticlockwise. Subsequently switching it down cuts off that voltage source and then you get the classic Chernobylizer power drain effect. People often mistake this switch for an on/off switch but it is the power drain switch. Is there an audio output? Yes there is that is distorted and one that isn't. The non-distorted signal can be processed though other fx/distortion/filter modules or even used to make a feedback loop back to the CV input of the Chernobyletta Is there an audio input? As mentioned, the distortion section has an input, but also you can put audio into the CV input for all sorts of noisy results. You could even use the offset/scale section as an asymmetrical distortion effect with the CV out as an audio output. What is the power consumption of the module? On the +V rail about 40-50mA On the -V rail about 10mA DevelopmentThe design of this module went thru a few stages, we initially tried something that was more of a direct clone of the Chernobylizer but once we got to the prototype stage some parts didn't really work properly and others needed rethinking to work better in a modular system so we redesigned it quite a lot for the next version. We used the Falstad online circuit simulator quite a bit to try out circuit ideas before breadboarding them or building soldered versions on stripboard. Solderless breadboard gets quite fiddly and can be unreliable once a circuit gets too complex so we found that it's better to solder different sections of the circuit once they are confirmed to work individually, then connect them all together to test out the entire circuit and connect the inputs and outputs to existing modules. Deciding on a design for the distortion part of the circuit took quite a while. In the end we used a fuzz-pedal type approach using LEDs as clipping diodes which as a bonus provide a visual aspect, we designed the front panel so they shine through the PCB material creating a glow which flickers and fluctuates according to the audio :) As ever we drew up the final schematic in KiCad and used that to design the PCB and the front panel. Thanks Zack Nelson on the Synth DIY facebook group for helping us figure out how to get the scale/offset part of the circuit working. Development artwork and ideas. Original artwork by Lisa McKendrick - a new artwork design was made for the Chernobyletta based on the Chernobylizer, some of the touch pads are the same. It is designed so that the LEDs shine through the shapes on the panel. You can read more about the initial ideas behind the original Chernobylizer here and here on our blog. 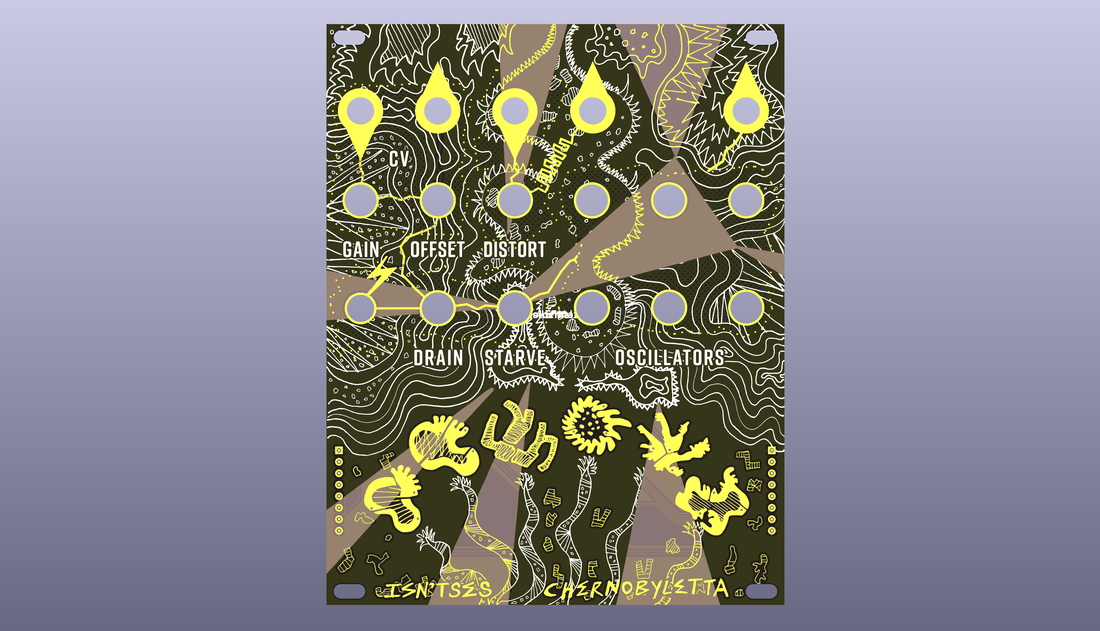 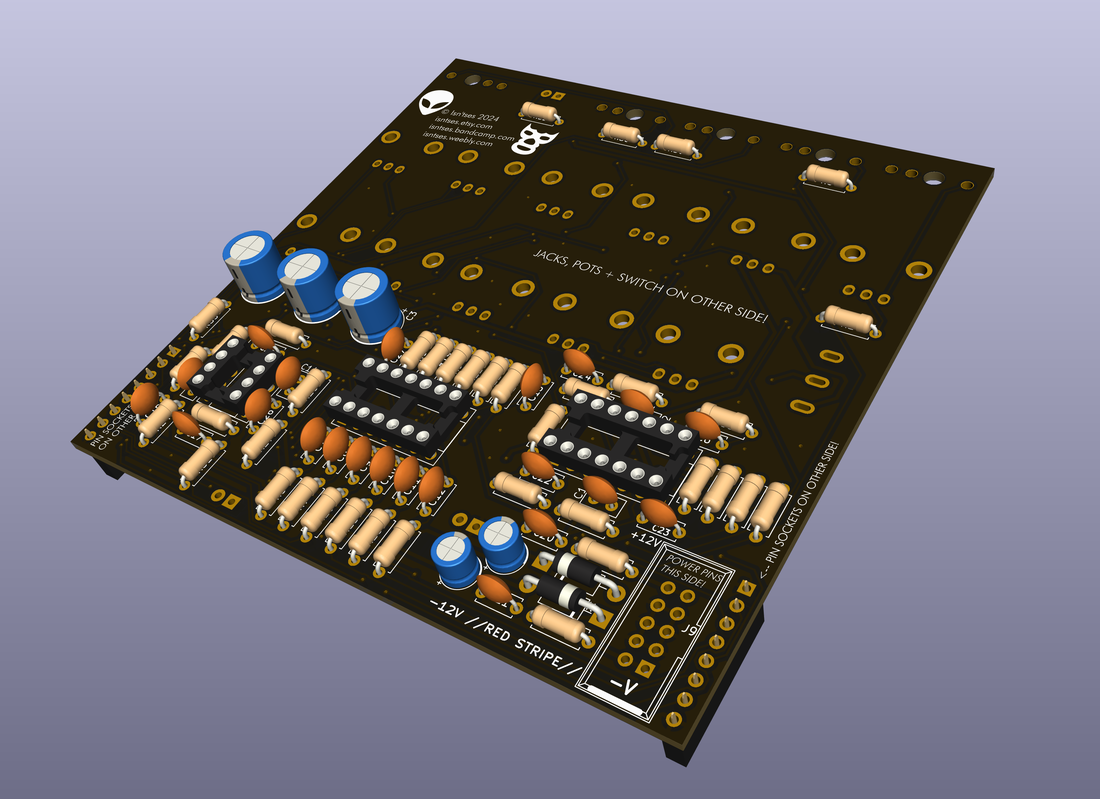 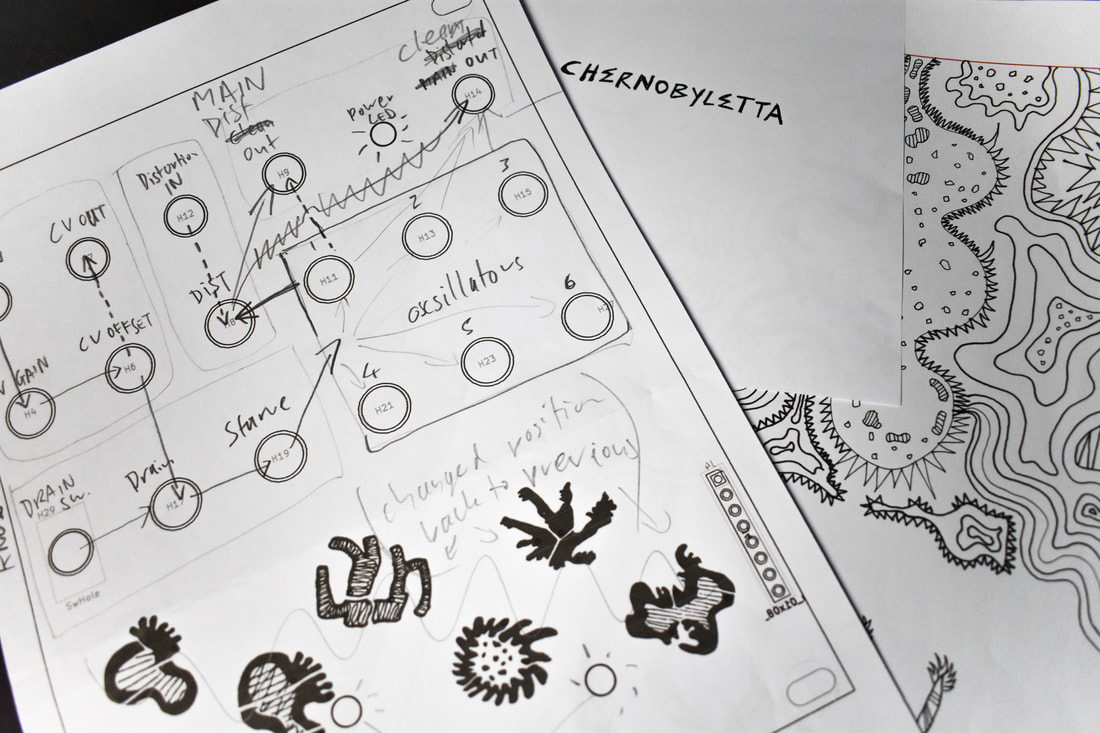 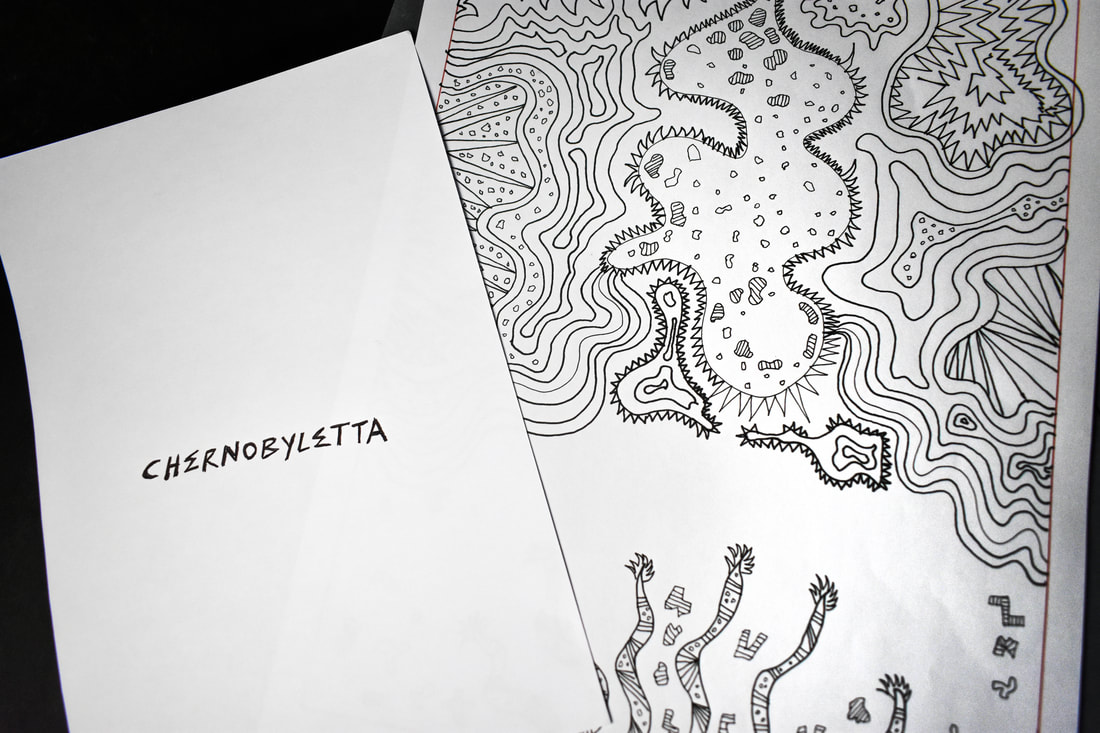 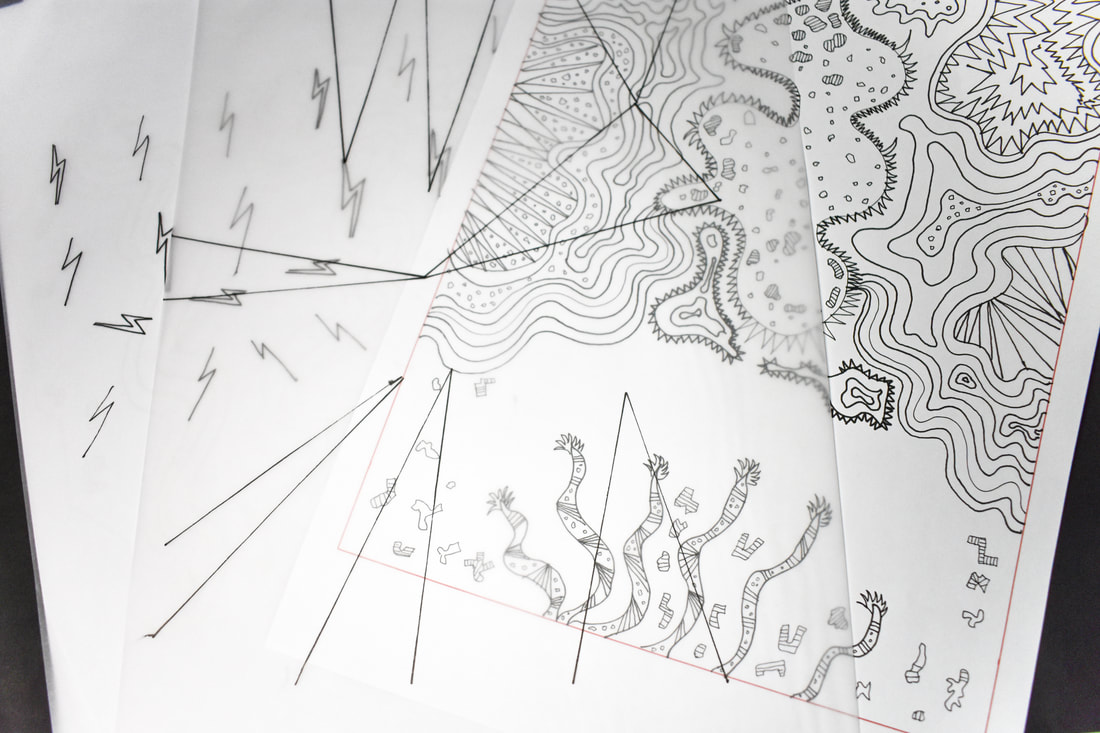 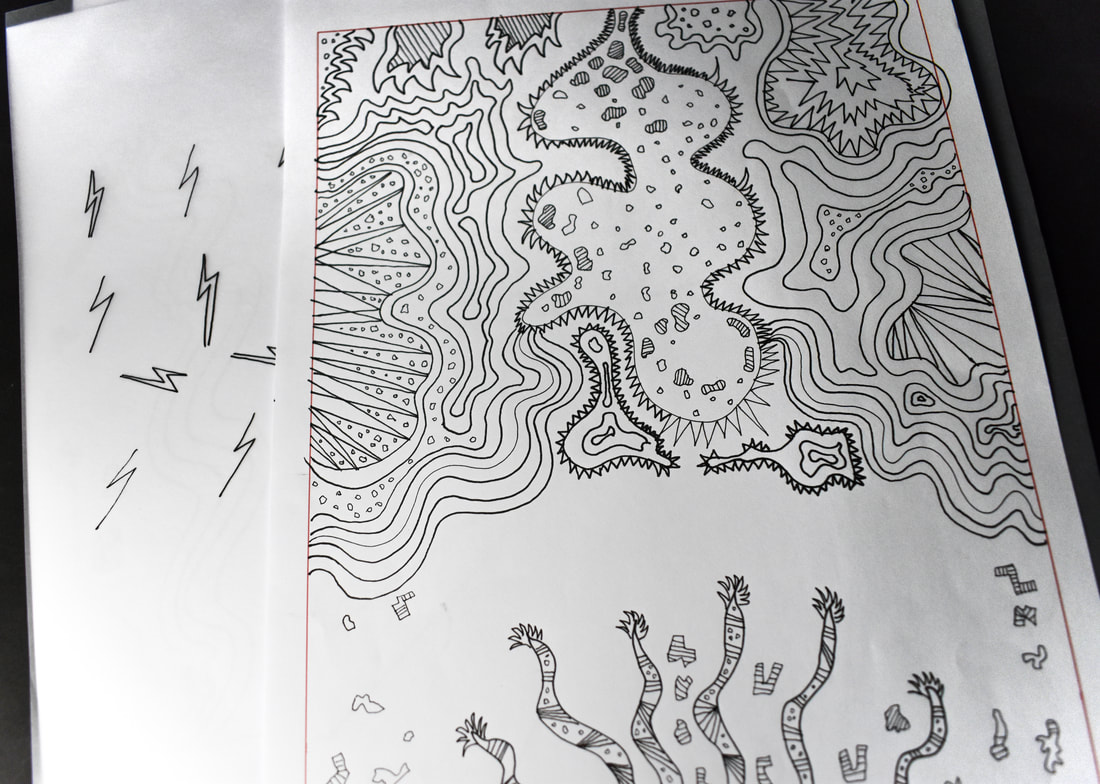 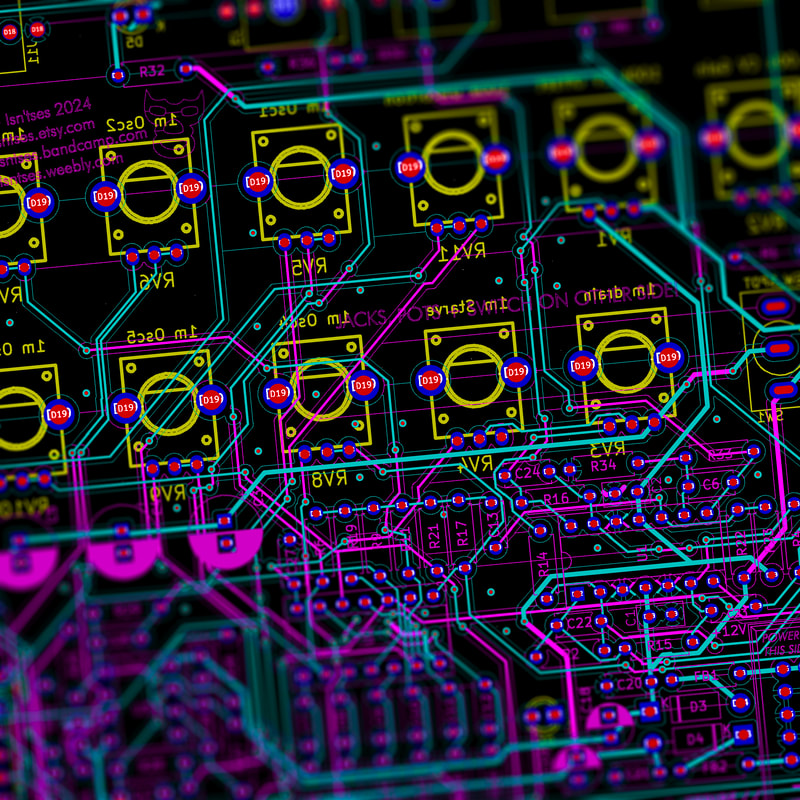 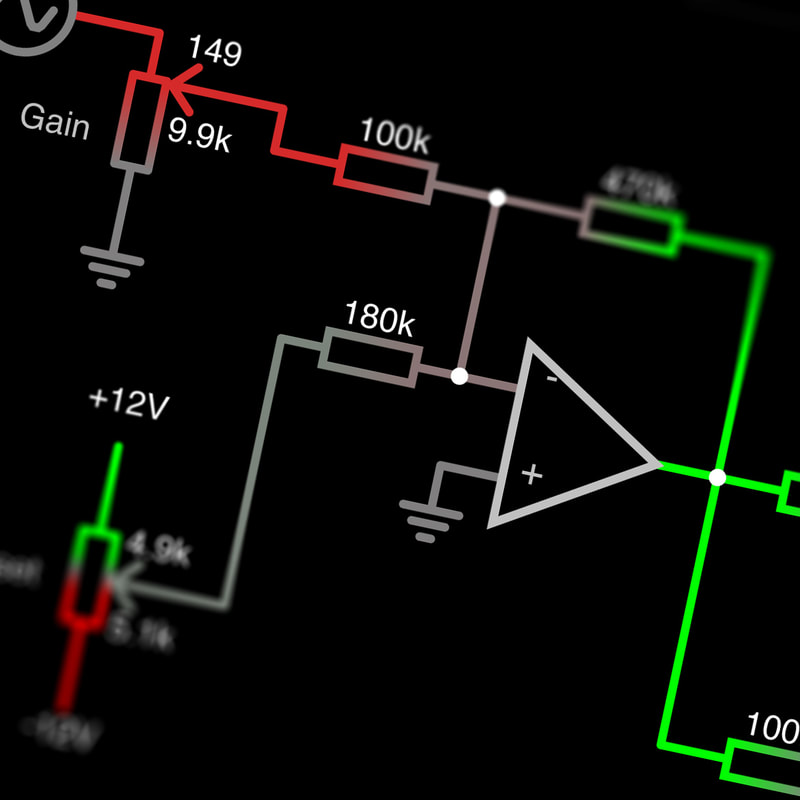   |
AuthorLisa McKendrick Archives
May 2024
Categories |
 RSS Feed
